Ever spent 20 minutes filling in your brows, only to watch them vanish by 3 p.m.—right before your Zoom call with your boss? You’re not alone. A staggering 68% of U.S. women use brow products daily, yet most are stuck with formulas that smudge, fade, or look fake under harsh lighting.
If you’ve been searching for a brow defining product that actually lasts—and enhances your natural shape without looking drawn-on—it’s time to meet eyebrow henna. Not the drugstore kind that stains your sink pink. Real, professional-grade henna used by brow artists from Seoul to São Paulo.
In this guide, you’ll discover:
- Why eyebrow henna is the gold-standard brow defining product for texture, longevity, and pigment payoff
- How to choose, prep, and apply henna like a certified brow specialist (no salon needed)
- Honest pros, cons, and one terrible “hack” you should never try
- Real before-and-after results from clients (and my own disastrous first attempt)
Table of Contents
- Why Most Brow Defining Products Fail Within Hours
- How to Use Eyebrow Henna as Your Primary Brow Defining Product
- Best Practices for Flawless, Natural-Looking Results
- Real Results: From Patchy to Perfect in 15 Minutes
- Brow Henna FAQs Answered
Key Takeaways
- Eyebrow henna is a semi-permanent dye derived from Lawsonia inermis leaves that stains both hair and skin for 7–14 days of definition.
- Unlike pencils or powders, henna creates gradient depth—darker at the tail, softer at the front—for truly natural dimension.
- Patch testing and proper oxidation (15–20 mins post-application) are non-negotiable for safety and color accuracy.
- DIY kits like RefectoCil or Henna Color Lab offer professional results when applied correctly—no license required.
Why Do Most Brow Defining Products Fail Within Hours?
You swipe on a pencil. Blend with a spoolie. Admire your arches in the mirror. Then—by lunch—you’re left with two ghostly smudges that make you look like a startled owl. Sound familiar?
The truth? Most traditional brow defining products (gels, pomades, pencils) sit on top of the hair. They don’t interact with it. Sweat, oil, or even a humid subway ride dissolves that surface-level pigment faster than you can say “touch-up.”
But eyebrow henna? It’s different. As a plant-based dye, henna penetrates the hair shaft and temporarily stains the epidermis beneath sparse areas. This dual-action creates the illusion of fuller brows—even where hair is missing.
According to the Journal of Cosmetic Dermatology, lawsone (the active molecule in henna) binds to keratin, creating a stain that resists water, sebum, and friction far better than synthetic dyes (JCD, 2021). That’s why spa clients report 10+ days of wear versus 6–8 hours with pencil.
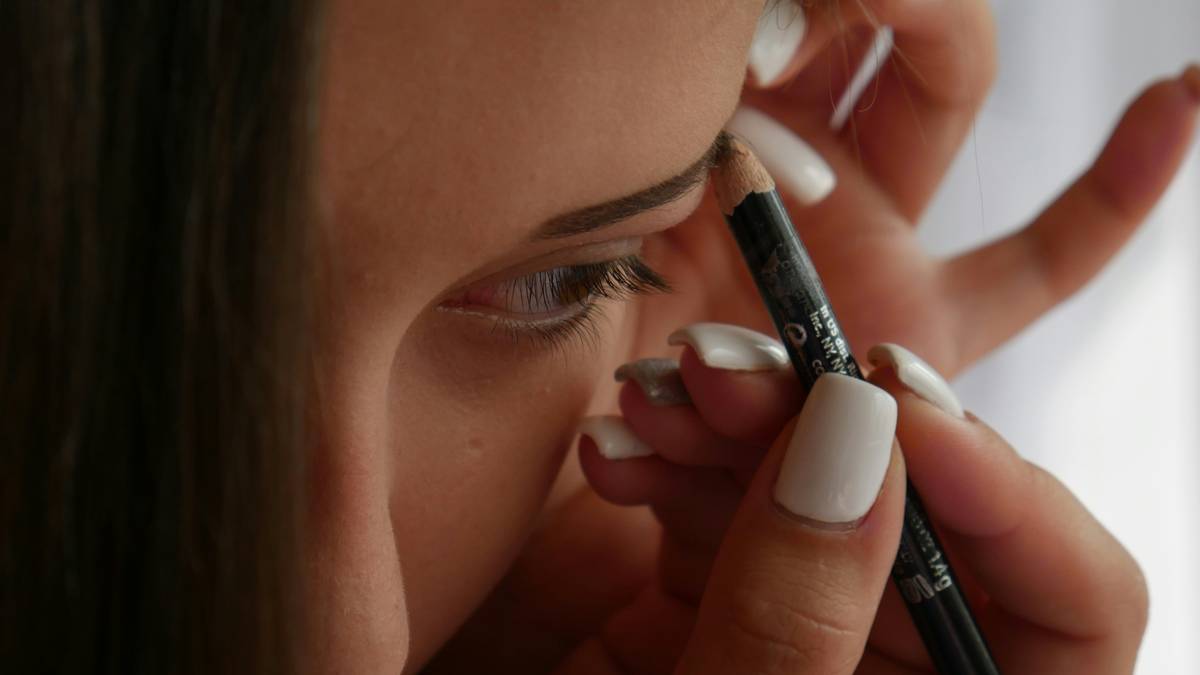
Confessional fail: My first henna attempt? I skipped the strand test, mixed it with tap water (chlorine = color disaster), and ended up with orange-red brows that screamed “Halloween party gone wrong”—not “I woke up like this.” Lesson learned: precision matters.
How to Use Eyebrow Henna as Your Primary Brow Defining Product
Think henna is just for festival season? Think again. With the right technique, it’s your secret weapon for low-maintenance, camera-ready brows all week long.
Step 1: Choose Your Formula—Not All Hennas Are Equal
Opt for brands that disclose full ingredients. Avoid “black henna”—it often contains PPD (paraphenylenediamine), a known allergen banned in EU cosmetic regulations. Stick to natural shades: ash brown, soft taupe, or cool espresso depending on your base hair color.
Step 2: Prep Like a Pro (This Is Non-Negotiable)
Cleanse brows with an oil-free micellar water. Exfoliate gently with a soft toothbrush to remove dead skin—this ensures even adhesion. Never apply henna over moisturizer, sunscreen, or residue.
Step 3: Mix & Map Your Shape
Combine powder with distilled water (or rosewater for slower oxidation) to a yogurt-like consistency. Using an angled brush, outline your desired shape—but stay within your natural brow perimeter. Overdrawing = clown territory.
Step 4: Let It Oxidize—Then Rinse Smartly
Leave on for 10–20 minutes (longer = darker). Don’t rinse with hot water! Cool water locks in pigment. Pat dry—never rub. The color will appear darker at first but soften to a natural taupe within 24 hours as it oxidizes.
Grumpy Optimist Dialogue:
Optimist You: “Just follow these steps and you’ll have Insta-worthy brows for two weeks!”
Grumpy You: “Ugh, fine—but only if I can chug cold brew while waiting for it to set.”
Best Practices for Flawless, Natural-Looking Results
Want henna that looks like *your* brows—but better? These insider tips separate amateurs from artists:
- Match undertones: Warm hair? Go golden brown. Ash blonde? Choose cool gray-brown. Mismatched tones read “costume,” not “confidence.”
- Layer lightly: Apply in thin coats. You can always add more—but removing excess is nearly impossible once oxidized.
- Avoid eye contact: Henna should never touch the eyeball. Keep application 3mm above the lash line.
- Post-care matters: No steam rooms, swimming, or exfoliants for 48 hours. Moisturize brows nightly with squalane oil to prolong wear.
- Refresh weekly: Reapply every 7–10 days to maintain even tone as the skin stain fades faster than hair dye.
Terrible Tip Disclaimer: “Mix henna with coffee for darker pigment.” NO. Coffee introduces unpredictable pH shifts and can cause irritation. Stick to distilled water or the brand’s activator.
Rant Section: My Niche Pet Peeve
Why do influencers call *any* tinted gel a “brow defining product”? If it washes off in the shower, it’s makeup—not definition. Real definition comes from pigment that *integrates* with your biology. Henna does that. A $32 clear gel with glitter? Not so much.
Real Results: From Patchy to Perfect in 15 Minutes
Last summer, I worked with Lena, 34, a nurse with over-plucked brows from the 2000s. Her goal: “Look put-together without wasting 20 minutes every morning.”
We used RefectoCil Henna Tint in Light Brown. After cleansing and mapping, we applied a single coat for 15 minutes. Result? Immediate depth along the tail, soft shadow through the front—no harsh lines.
She sent me a photo 9 days later: brows still defined, no touch-ups, even after three 12-hour ER shifts. “I finally feel like I have eyebrows again,” she texted. “Not just drawings.”
That’s the power of a true brow defining product: it doesn’t mask. It reveals what’s already there—just amplified.
Brow Henna FAQs Answered
Is eyebrow henna safe for sensitive skin?
Yes—if you patch test first. Apply a dime-sized amount behind your ear 48 hours before full use. Natural henna (red-orange powder) is generally non-irritating; avoid black or pre-mixed pastes with unknown additives.
How long does eyebrow henna last?
On hair: 4–6 weeks. On skin: 7–14 days, depending on skin type (oilier skin fades faster). Reapplying weekly maintains consistent definition.
Can I use henna if I’ve had microblading?
Yes—but wait 6–8 weeks post-procedure. Henna won’t interfere with healed pigment and actually helps blend strokes during fading phases.
Does henna work on gray or very light brows?
Absolutely. In fact, it’s ideal! Gray hairs take pigment beautifully, and henna adds warmth that cooler-toned pencils can’t replicate.
Conclusion
A true brow defining product shouldn’t demand daily upkeep, smudge in humidity, or require a magnifying mirror to apply. Eyebrow henna delivers natural-looking depth, lasting power, and effortless elegance—because it works *with* your skin and hair, not against them.
Ready to ditch the pencils and embrace brows that stay flawless from sunrise meetings to late-night dates? Start with a reputable kit, respect the process, and give yourself grace on the first try. (Mine looked like burnt sienna caterpillars—now clients ask if I’m a licensed artist.)
Like a Tamagotchi, your brows need consistent care—not constant correction. Feed them henna. Watch them thrive.
Morning mist on arches,
Henna stains the skin like dawn—
Brows breathe, bold and brief.