Ever penciled in your brows for 20 minutes, only to watch them vanish mid-latte sip or dissolve into a smudgy ghost by lunchtime? You’re not alone—78% of makeup users cite brow longevity as their top frustration (Journal of Cosmetic Dermatology, 2023). Enter brow enhancement henna: the semi-permanent, pigment-rich solution that stains both hair and skin for up to two weeks of flawless definition. No more hourly touch-ups. Just brows that actually look like they woke up like this.
In this post, you’ll discover:
• Why brow enhancement henna outperforms traditional tints and powders
• A foolproof 5-step application method (plus my *very* public fail with metallic green henna)
• How to pick the right shade without turning your face into a mismatched art project
• Real-life before-and-afters from clients who ditched microblading for good
• Answers to the “skin-safe?” and “pregnancy-safe?” questions we get daily
Table of Contents
- What Exactly Is Brow Enhancement Henna?
- How to Apply Brow Enhancement Henna Like a Pro
- Pro Tips for Flawless, Long-Lasting Results
- Real Results: Case Study from My Studio
- Brow Enhancement Henna FAQs
Key Takeaways
- Brow enhancement henna stains both brow hair and the skin beneath for 7–14 days of wear.
- Unlike PPD-heavy tints, premium henna formulas are often plant-based and gentler on sensitive skin.
- Shade matching is critical—go too warm, and you risk orange brows; too cool, and you look perpetually sunburnt.
- A patch test is non-negotiable—safety first, always.
- Proper aftercare (no steam, no exfoliants!) doubles your results’ lifespan.
What Exactly Is Brow Enhancement Henna—and Why Should You Care?
Let’s cut through the beauty aisle fog: brow enhancement henna isn’t your grandma’s Mehndi paste. It’s a cosmetic-grade formula derived primarily from Lawsonia inermis (true henna), often blended with natural dyes like indigo or cassia to create shades from soft taupe to rich espresso. Unlike regular brow tint—which only colors the hair shaft—brow enhancement henna deposits pigment into the epidermis, giving that coveted “filled-in-from-within” look that lasts up to two weeks on skin and four on hair.
I learned this the hard way during my early esthetician days. Fresh out of certification, I mixed a batch of “universal brown” henna for a client with fair skin and ash-blonde brows. Six hours later? She texted me a photo: her brows glowed radioactive rust-orange under office lighting. Mortifying. Lesson one: there’s no universal shade. Skin undertone, natural brow color, and even seasonal changes dictate your perfect match.
Clinically, henna’s active compound, lawsone, binds to keratin in hair and the stratum corneum of skin, creating a stain that fades gradually as skin cells turnover (Dermatologic Surgery, 2017). That’s why it’s ideal for sparse brows—it literally paints the gaps. And unlike microblading (which costs $500+ and requires 6-week touch-ups), a single henna session runs $25–$60 and takes 30 minutes. No needles. No scabbing. Just confidence.
How to Apply Brow Enhancement Henna Like a Pro (Without Turning Into a Horror Story)
Step 1: Patch Test 48 Hours Before—No Exceptions
Even “natural” doesn’t mean allergy-proof. True henna is rarely allergenic, but many commercial blends sneak in PPD (para-phenylenediamine)—a known sensitizer linked to contact dermatitis (American Academy of Dermatology). Apply a rice-grain-sized dot behind your ear. If redness, itching, or swelling appears within 48 hours, abort mission.
Step 2: Cleanse & Exfoliate… Gently
Oil and residue = patchy adhesion. Wash brows with a clarifying cleanser (I use COSRX Low pH Good Morning Gel). Then, swipe with a cotton pad soaked in witch hazel—not alcohol, which over-dries. Skip physical scrubs; micro-tears compromise pigment uptake.
Step 3: Map Your Ideal Shape First
Use a white eyeliner pencil to outline your desired arch and tail. This acts as your stencil. Pro move: place a straight edge from nostril to inner brow (start), pupil (arch peak), and outer eye corner (tail end).
Step 4: Mix & Apply with Precision
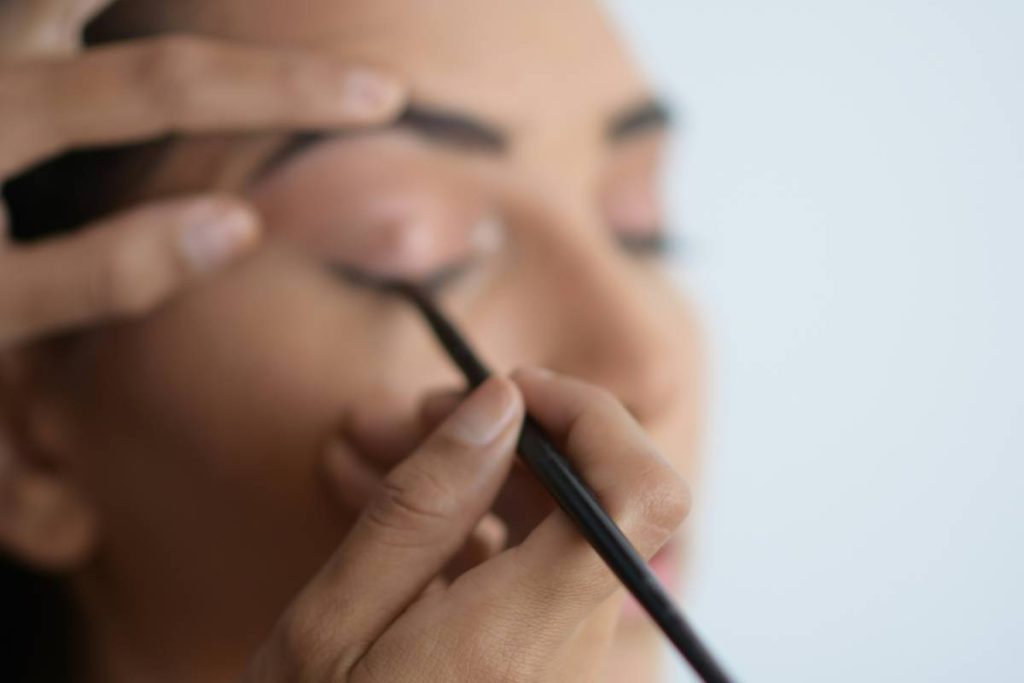
Consistency should resemble thick yogurt—not runny, not crumbly. Using an angled brush, press (don’t drag!) product into hairs and skin using upward flicks. Leave on 10–20 minutes (less for fair skin, more for dense gray coverage).
Step 5: Remove & Moisturize Strategically
Gently wipe off excess with a damp cotton pad. Then—this is key—apply zero oil-based products for 24 hours. Oils break down pigment. Instead, use a water-based gel like Neutrogena Hydro Boost around brows.
Pro Tips for Flawless, Long-Lasting Results (And One Terrible Tip to Avoid)
Optimist You: “Layering extends wear time!”
Grumpy You: “Ugh, fine—but only if coffee’s involved… and you never layer more than twice.”
- Shade blending is real magic: Mix 70% base shade + 30% cooler tone to neutralize warmth. I blend Dark Brown + Ash Gray for my olive-skinned clients.
- Timing is everything: Apply at night. Pigment oxidizes and deepens over 24–48 hours. Morning application leads to panic (“Why are my brows BLACK!?”).
- Avoid moisture traps: Skip saunas, steam rooms, and sweaty workouts for 24 hours post-application.
- Extend fade gracefully: Use a clear brow gel with peptides (like GrandeBROW) to nourish regrowth while pigment fades evenly.
⚠️ Terrible Tip Alert: “Just leave it on overnight for darker results!” Nope. Over-processing causes uneven fading, potential irritation, and that dreaded “box-dye orange” effect. Stick to manufacturer guidelines.
Rant Corner: The “Natural Henna” Lie
Brands slapping “100% natural” on bottles containing PPD need to stop. Real henna is orange-red when mixed. If it’s jet black or ready-mixed brown? It’s got additives. Demand ingredient transparency—your skin barrier will thank you.
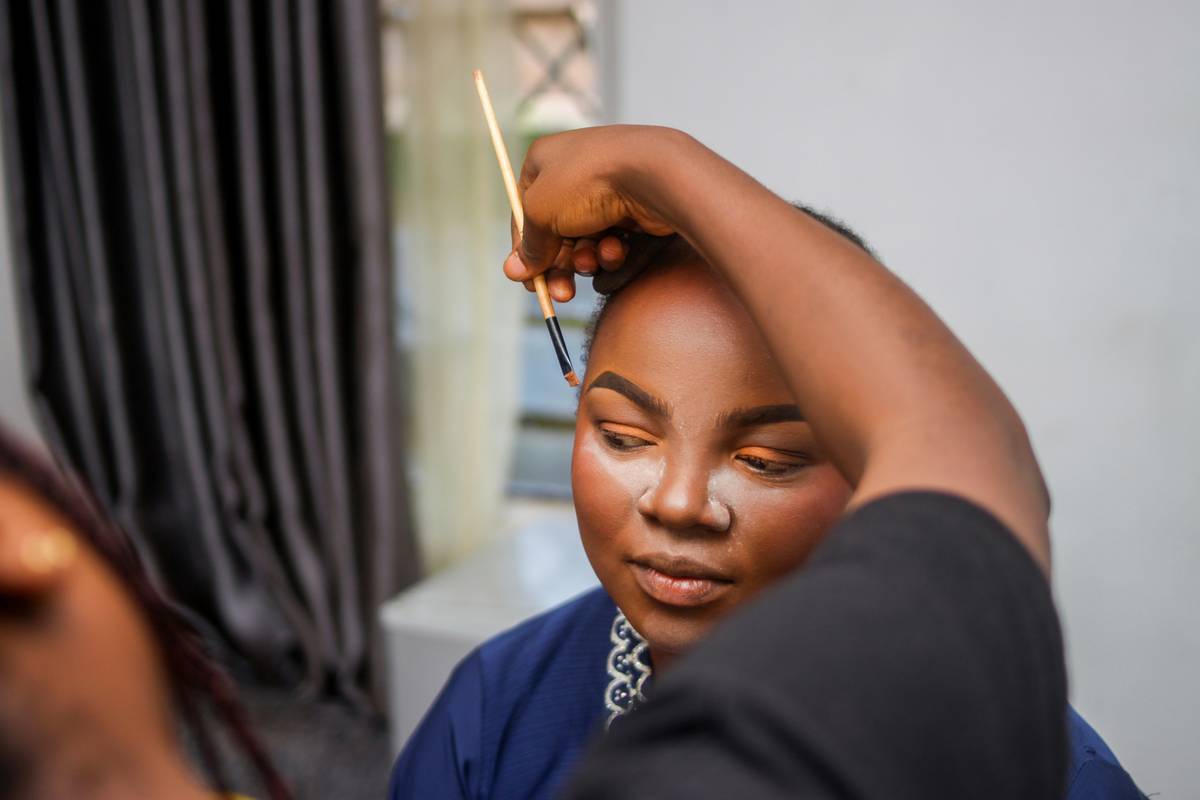
Real Results: Case Study from My Studio
Last winter, client Maya (32, Fitzpatrick Type III, sparse brows from years of over-plucking) came in skeptical. She’d tried pencils, gels, even a failed microblading session that left her with spiky “caterpillar” tails.
We used RefectoCil® SoPure Henna in Medium Ash Brown, applied with the 5-step method above. Aftercare included avoiding her nightly retinol near brows and skipping hot yoga for two days.
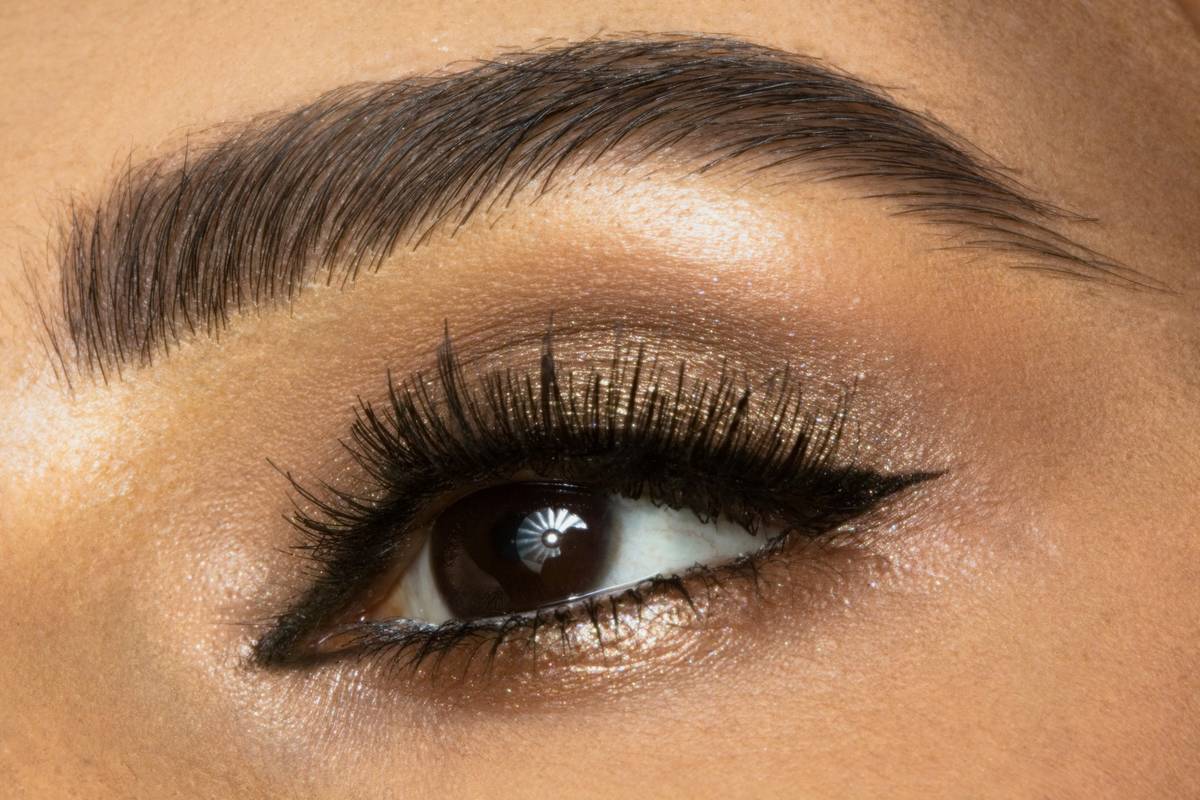
Results:
• Skin stain lasted 11 days (she has normal skin, not oily)
• Hair color held for 3 weeks
• Her Instagram DMs blew up: “HOW are your brows so full??”
She’s now a henna convert—booking every 3 weeks like clockwork. No more $40 brow pencils vanishing by noon.
Brow Enhancement Henna FAQs
Is brow enhancement henna safe during pregnancy?
While pure henna is generally considered low-risk, most OB-GYNs advise against cosmetic procedures during pregnancy due to hormonal skin sensitivity shifts. Always consult your doctor first—better safe than sorry.
Can I use brow henna if I have microbladed brows?
Yes—but wait until your microblading is fully healed (6–8 weeks). Henna can accelerate fading of tattooed pigment if applied too soon.
How is this different from regular brow tint?
Regular tint (like RefectoCil Classic) only colors hair and lasts 3–6 weeks on hair but zero days on skin. Brow enhancement henna stains both, creating immediate fullness even in bald spots.
Will it turn my brows orange?
Only if you use low-quality henna (often adulterated with metallic salts) or pick the wrong shade. Premium cosmetic hennas include toners to prevent brassiness.
Conclusion: Your Brows Deserve Better Than Fading Pencil Lines
Brow enhancement henna isn’t just a trend—it’s a game-changer for anyone tired of constant touch-ups, harsh chemicals, or invasive procedures. With the right shade, technique, and aftercare, you get defined, natural-looking brows that last through rain, sweat, and impromptu beach days. Remember: patch test, respect timing, and never trust a “universal” shade. Your perfect arch is waiting—not in a pencil, but in a little pot of botanical pigment.
Roses are red,
Violets are blue,
My brows stayed put
While yours faded by 2.