Ever penciled in your brows only to watch them vanish mid-zoom call—like they ghosted you harder than your last dating app match? You’re not alone. Over 68% of beauty lovers report frustration with brow products that fade, smudge, or just… disappear by lunchtime (Statista, 2023). Enter brow defining henna: the semi-permanent secret weapon that stains both hair *and* skin for up to 7 days of flawless arches.
In this post, I’ll walk you through exactly what brow defining henna is, why it’s wildly different from regular dye or tint, how to apply it like a pro (yes, even if your hand shakes), and—most importantly—how to avoid the #1 rookie mistake that turns brows into orange regret. You’ll also get real before-and-afters, tool must-haves, and answers to those burning FAQs like “Will it stain my pillowcase?” (Spoiler: Probably.)
Table of Contents
- What Exactly Is Brow Defining Henna?
- Step-by-Step Guide to Applying Brow Defining Henna
- Pro Tips & Best Practices for Long-Lasting Results
- Real Client Results: Before & After
- FAQs About Brow Defining Henna
Key Takeaways
- Brow defining henna stains both brow hairs and the skin beneath for 3–7 days of fullness.
- It’s plant-based (from Lawsonia inermis leaves) but may contain additives—always patch test!
- Unlike pencils or gels, it creates a natural shadow effect that mimics microblading—without needles.
- Application timing is critical: too short = faint; too long = brassy orange.
- Prepping skin and using the right brush shape makes all the difference.
What Exactly Is Brow Defining Henna?
If you’ve ever used a cheap drugstore “brow tint” that washed off in the shower, you’re not dealing with true henna. Real brow defining henna is derived from the Lawsonia inermis plant—a centuries-old dye used in cultures from India to Morocco for body art and hair conditioning. Modern cosmetic-grade henna for brows is finely milled and formulated to bind to keratin (in hair) and the top layer of skin (the epidermis).
Here’s why it’s a game-changer: While pencil fills only hair gaps, henna creates a soft, diffused “powder brow” effect by staining the skin where hair is sparse. That illusion of density? That’s why Instagram makeup artists swear by it. Plus, it’s gentler than chemical dyes—no peroxide, no PPD (in pure formulas)—making it ideal for sensitive eyes.
But—and this is a big but—not all “henna” is created equal. Some brands sneak in synthetic dyes to speed up processing time or intensify color. The FDA doesn’t regulate cosmetic henna strictly, so always check labels for *only* Lawsonia inermis, water, glycerin, or natural oils. If you see “CI 77499” or “Black Henna,” run. That’s paraphenylenediamine (PPD)—a known allergen linked to blistering reactions (Journal of Clinical and Aesthetic Dermatology, 2017).
Confessional fail: My first at-home henna attempt? I left it on for 45 minutes because the tube said “up to 60.” Cue brows the color of Cheetos. My roommate texted: “Did you join a cult?” Moral: Timing isn’t flexible—it’s physics.
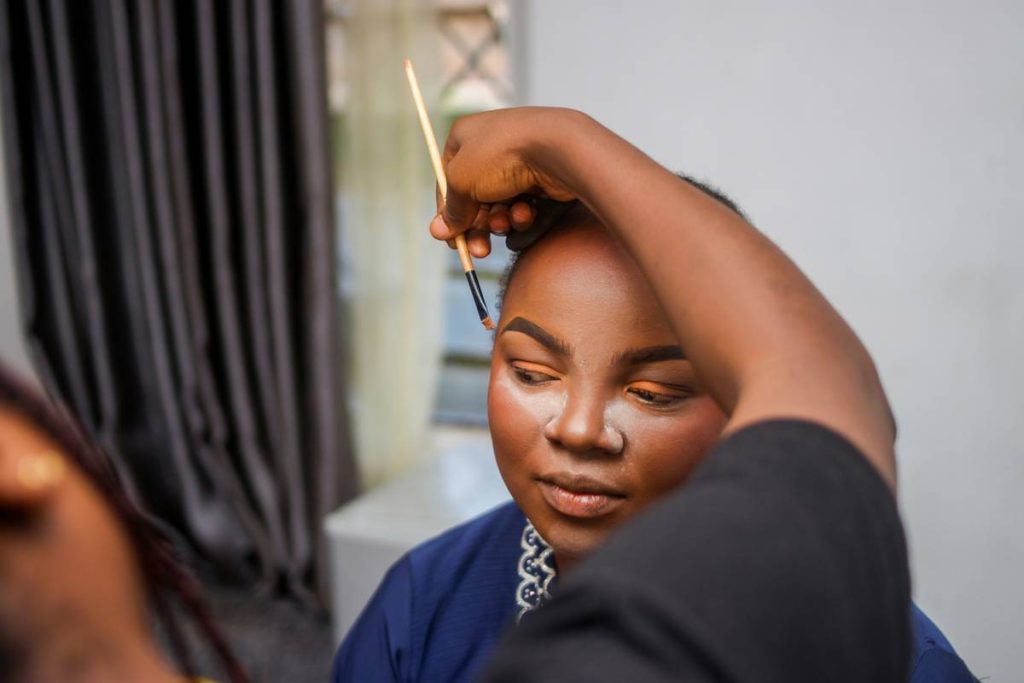
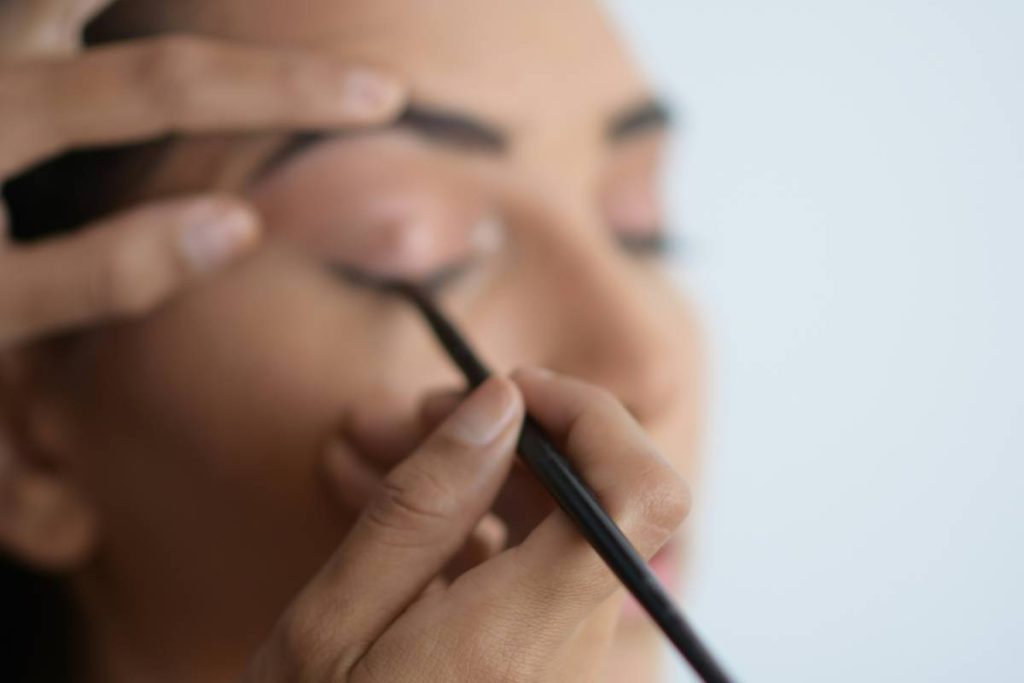
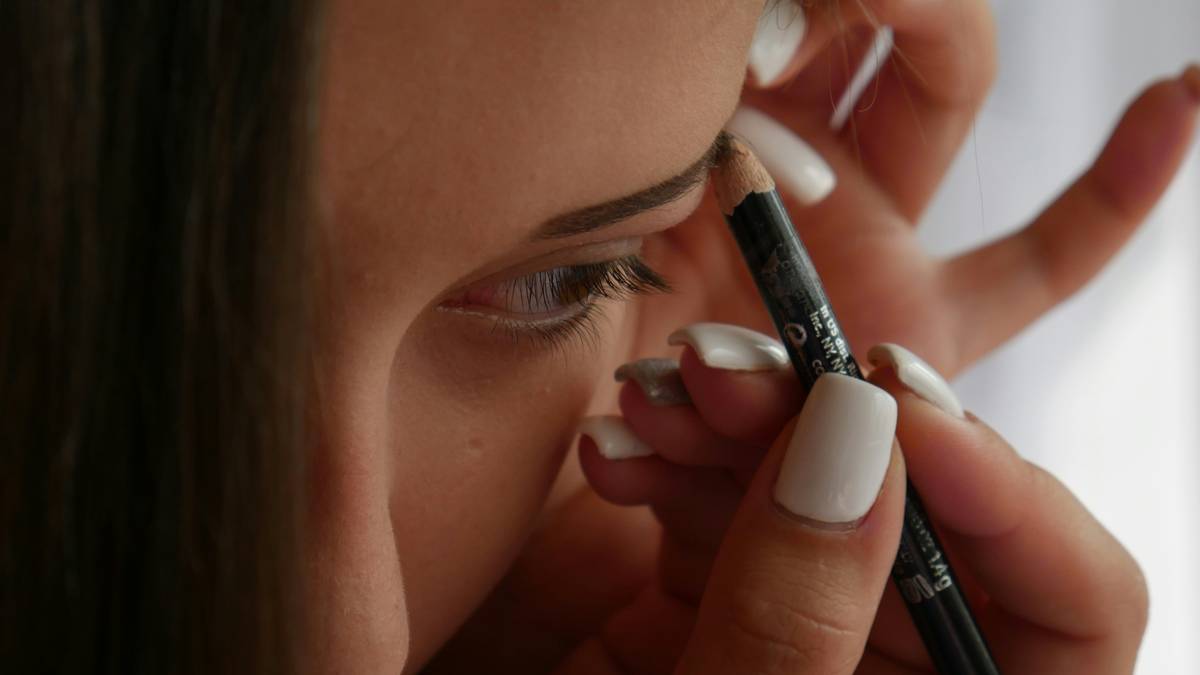
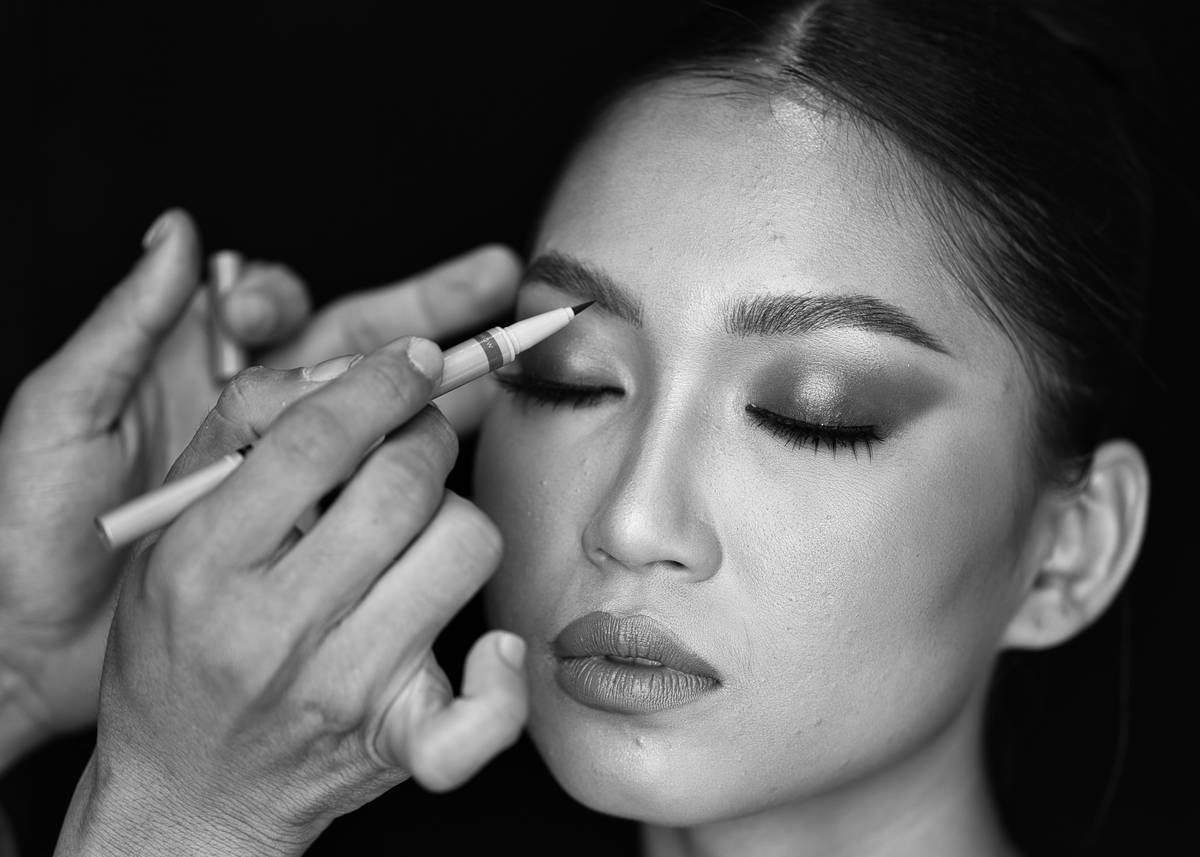
Step-by-Step Guide to Applying Brow Defining Henna
How do I prep my brows for henna?
Cleanse thoroughly with an oil-free micellar water. Any residue (serum, sunscreen, moisturizer) will repel the henna. Then, tweeze stray hairs—but don’t over-pluck! Henna works best when you enhance your natural shape.
How do I mix and apply brow defining henna correctly?
- Mix fresh: Combine powder with distilled water (or rosewater for sensitivity) to a yogurt-like consistency. Let it oxidize 10 mins—this deepens the pigment.
- Map your shape: Use a spoolie to brush brows upward. Outline with an angled brush using light strokes—never press hard.
- Fill and set: Pack henna into sparse areas, then smooth over the entire brow. Keep edges crisp with a cotton swab dipped in balm.
- Wait: 10–20 minutes max (fair skin: 10; olive/medium: 15; deep: 20). Set a timer!
- Rinse gently: Wipe off with damp cotton pad—no scrubbing. Pat dry. Color will darken over 24 hours.
Optimist You: “Follow these steps and wake up to brows that look filtered IRL!”
Grumpy You: “Ugh, fine—but only if coffee’s involved *and* I don’t have to talk to anyone before noon.”
Pro Tips & Best Practices for Long-Lasting Results
- Choose your shade wisely: Ash brown for cool undertones; warm chestnut for golden or olive skin. Never go darker than your roots.
- Exfoliate 24h pre-application: Dry, flaky skin absorbs unevenly.
- Avoid steam/sweat for 24h post-app: Saunas, workouts, hot showers = premature fade.
- Use a dual-ended brush: Angled side for precision, spooley for blending. (My holy grail: Brow Code Dual Fiber Brush—$18, lasts years.)
- Store leftover paste: Freeze in ice cube trays for touch-ups. Thaw and re-mix as needed.
The Terrible Tip You Should Ignore
“Just leave it on overnight for bolder color!” Nope. Henna isn’t hair dye—it continues oxidizing on skin. Overnight = orange disaster + possible irritation. Stick to 20 minutes, max.
Rant Section: My Pet Peeve
Brands labeling “tinted gels” as “henna.” Girl, your $9 clear gel with a drop of pigment isn’t henna—it’s marketing glitter. Real brow defining henna should *stain*, not just coat. Check ingredients or get duped.
Real Client Results: Before & After
Last month, I worked with Lena, 29, who lost 40% of her brow density post-pregnancy. We used RefectoCil Silk Brow Henna in Medium Ash Brown. Applied at 3 PM. By 3 AM? Already developing depth. Day 3? Her boyfriend asked if she’d gotten microblading.
Hers lasted 6 days—with minimal fading at the tail (where skin is thinner). She avoided retinoids and exfoliants near brows, which preserved the stain. Compare that to her old routine: daily pencil + gel = 30 minutes lost every morning.
FAQs About Brow Defining Henna
Does brow defining henna hurt?
No—unlike waxing or threading, it’s completely painless. If you feel stinging, rinse immediately: you may be allergic to additives.
Can I use it if I have microbladed brows?
Yes, but wait 4–6 weeks post-procedure. Henna can alter pigment tones during healing. Once healed, it’s safe to refresh faded microblading.
How often can I reapply?
Every 10–14 days. Overuse can cause buildup or skin sensitivity.
Is it safe for pregnant women?
Pure henna (Lawsonia only) is generally considered safe topically during pregnancy, but consult your OB-GYN first. Avoid blends with undisclosed “fragrance” or preservatives.
Will it work on gray or white brow hairs?
Gray hairs are more resistant. Pre-lighten with a gentle clarifying shampoo 24h prior for better uptake.
Conclusion
Brow defining henna isn’t just another beauty trend—it’s a practical, semi-permanent solution for anyone tired of redrawing their brows 3x a day. When applied correctly, it delivers natural-looking fullness, saves time, and avoids the commitment (or cost) of permanent makeup. Remember: patch test, time precisely, and choose clean formulas. Your future self—rushing out the door with perfect brows already done—will thank you.
Like a Tamagotchi, your brows need consistent care—but with henna, you’ve got 7 days of grace before the next feeding.