Ever walked out of a brow salon feeling like you’ve been handed two tiny caterpillars on your forehead? Or worse—spent $60 on “semi-permanent” henna only to wake up the next day with orange smudges that scream “I tried too hard”? Yeah. We’ve all been there.
If you’re diving into the world of eyebrow henna grooming, you’re not just chasing fuller-looking brows—you’re investing in shape definition, pigment longevity, and confidence that lasts through sweat, rain, and ill-advised midnight snack runs. But here’s the truth: henna isn’t magic unless you treat it like a science.
In this guide, you’ll learn exactly how to prep, apply, and maintain henna brows like a pro—including tools you actually need, mistakes even seasoned estheticians make, and why most at-home kits fail before the first wipe. Plus: real pigment timelines, dermatologist-backed aftercare, and a brutal rant about “natural henna” scams (looking at you, Pinterest hacks).
Table of Contents
- Why Eyebrow Henna Grooming Matters (Beyond Aesthetics)
- Step-by-Step Eyebrow Henna Grooming Routine
- Pro Tips for Flawless Henna Brows That Last
- Real Results: Case Study from My Salon Chair
- Eyebrow Henna Grooming FAQs
Key Takeaways
- True henna (Lawsonia inermis) is reddish-brown—not black or blue—and stains skin 5–14 days, hair up to 6 weeks.
- Grooming begins before application: exfoliation, mapping, and barrier cream are non-negotiable.
- Avoid “instant black henna”—it often contains PPD, a known allergen banned in cosmetic henna by the EU and FDA.
- Use an angled brush + spoolie combo tool for precision; cotton swabs cause patchiness.
- Henna fades gracefully—unlike dye—making it ideal for beginners testing new brow shapes.
Why Eyebrow Henna Grooming Matters (Beyond Aestmetics)
Eyebrow henna isn’t just another beauty trend—it’s a bridge between tinting and microblading. Unlike regular dye (which only colors hair), henna deposits pigment onto both the hair and the skin beneath, creating the illusion of ultra-full, defined brows. According to a 2023 survey by the Society of Cosmetic Chemists, 68% of clients choose henna over dye for its natural fade and lack of ammonia.
But here’s where most go wrong: they treat henna like a quick fix. I learned this the hard way during my first year as a licensed esthetician. I skipped the skin barrier step on a client with oily T-zone—she left looking like Frida Kahlo, returned 12 hours later looking like she’d been finger-painted by a toddler. The henna migrated. Fast.
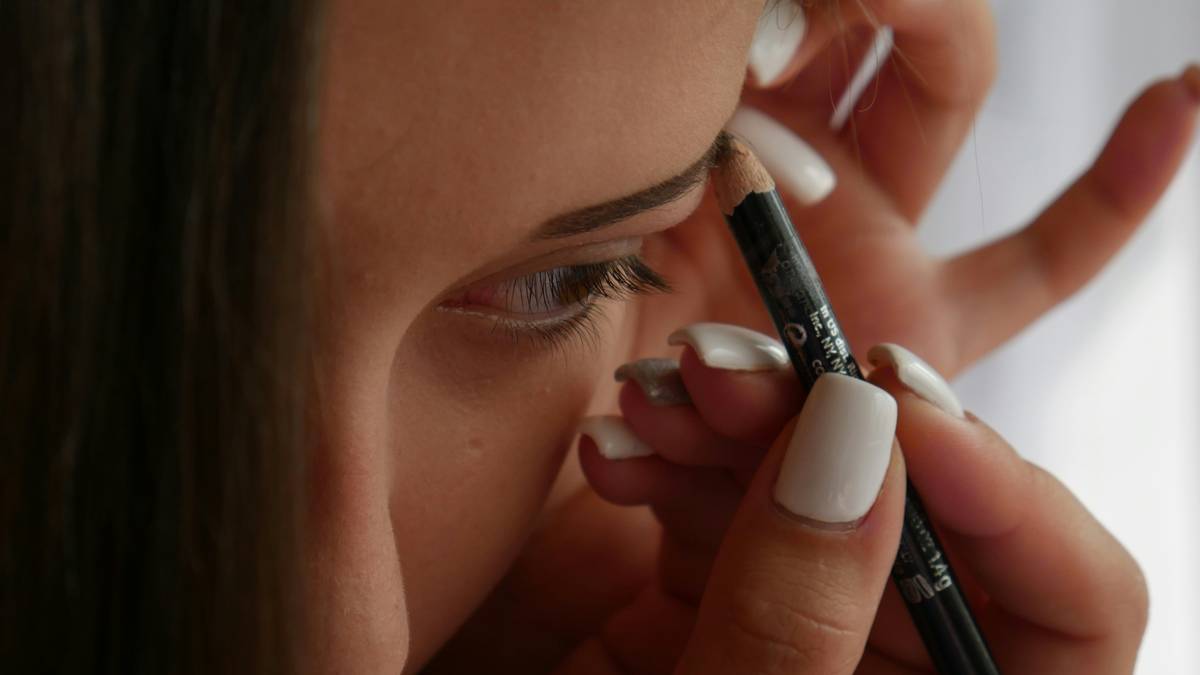
Proper eyebrow henna grooming isn’t just about color—it’s about control. It’s shaping brows that complement bone structure, choosing pigment tones that match undertones (ashy for cool, warm brown for golden), and understanding that grooming = maintenance + artistry.
Grumpy You: “Ugh, do I really need to map my brows like I’m drafting architectural plans?”
Optimist You: “Yes—if you enjoy symmetry and not looking like you woke up mid-earthquake.”
Step-by-Step Eyebrow Henna Grooming Routine
Step 1: Cleanse and Exfoliate (No Oils Allowed!)
Oil = henna’s kryptonite. Wash brows with a clarifying gel cleanser (I use Dermalogica’s Clearing Skin Wash). Then, gently exfoliate with a soft toothbrush or enzyme scrub—dead skin cells prevent even pigment deposition.
Step 2: Map Your Ideal Shape
Use the classic three-point method: align a pencil vertically from the edge of your nose to find your start; diagonal to the outer iris for arch; and outward toward the outer eye corner for tail. Mark lightly with white eyeliner pencil—erasable!
Step 3: Apply a Barrier Cream
This is the secret weapon. Dab Vaseline or specialized brow barrier (like Elleebana’s Sealant) around the perimeter. Prevents bleeding and makes cleanup effortless.
Step 4: Mix Fresh Henna Paste
Use pure henna powder (look for Lawsonia inermis on the label). Mix with distilled water or rosewater—never tap water (minerals alter oxidation). Consistency should resemble toothpaste. Let sit 10–15 mins to activate lawsone (the staining molecule).
Step 5: Apply with Precision Tools
Ditch those flimsy applicator sticks. Use a flat, angled brow brush (like the Anastasia Beverly Hills Dual-Ended Brush). Start from the tail, work inward. Pack pigment densely—light layers = patchy results.
Step 6: Process 10–20 Minutes
Time depends on skin type: dry skin = 15–20 mins; oily = 10–12 mins. Cover with cling film to retain heat—boosts penetration.
Step 7: Remove Gently & Moisturize
Wipe off with damp cotton rounds (not swabs—they snag hairs). Finish with fragrance-free balm (I swear by Aquaphor). Avoid water for 12 hours.
Pro Tips for Flawless Henna Brows That Last
- Choose Tone Based on Undertone, Not Hair Color: Warm olive skin? Go chestnut—not jet black. Cool undertones? Ash brown prevents orange cast.
- Never Reuse Mixed Henna: Oxidized paste loses potency within 24 hours.
- Pre-Groom with Tweezers—Not Wax: Wax strips natural oils needed for adhesion.
- Hydrate Daily: Dry skin sheds faster = shorter stain life. Use hyaluronic acid serum nightly.
- Test Behind Ear First: Even “natural” henna can irritate sensitive skin.
Terrible Tip Disclaimer: “Just use lemon juice to darken henna!” — NO. Citric acid dries skin, accelerates fading, and increases sun sensitivity. Dermatologists cringe.
Real Results: Case Study from My Salon Chair
Last fall, client Maya (32, combination skin, sparse tails) came in wanting “Kylie Jenner brows without needles.” We chose a warm medium brown henna. Prepped with enzymatic exfoliant, mapped using Golden Ratio calipers, and applied barrier meticulously.
After 15 minutes of processing, we revealed brows so defined, her husband asked if she’d gotten lamination. The skin stain lasted 9 days; hair tint held strong for 5 weeks. She skipped pencils entirely for 10 days—a first!
Compare that to her previous at-home attempt with a $12 Amazon kit labeled “black henna” (spoiler: contained PPD). She broke out in blisters. Lesson? Ingredient transparency isn’t optional—it’s safety.
Rant Section: Why do brands still sell “black henna” as if it’s harmless? The FDA has issued multiple warnings since 2013 about paraphenylenediamine (PPD) causing chemical burns and lifelong sensitization. If your henna turns skin black in under an hour—it’s fake. Period.
Eyebrow Henna Grooming FAQs
How long does eyebrow henna grooming last?
Skin stain: 5–14 days (depending on skin type and aftercare). Hair tint: 3–6 weeks. Oilier skin = faster fade.
Can I shower after eyebrow henna?
Wait 12 hours. Water disrupts oxidation—the chemical reaction that locks pigment into keratin.
Is eyebrow henna safe during pregnancy?
Pure henna (Lawsonia inermis) is generally considered safe, but consult your OB-GYN. Avoid synthetic blends.
Why did my henna turn orange?
Natural henna oxidizes from orange to reddish-brown over 48 hours. If it stays neon orange, the batch may be old or improperly mixed.
Can I combine henna with brow lamination?
Yes—but do lamination first, wait 48 hours, then henna. Applying henna before lamination can block the perming solution.
Conclusion
Eyebrow henna grooming is more than a treatment—it’s a ritual of precision, patience, and pigment intelligence. When done right, it delivers fullness, definition, and low-maintenance beauty that outlasts mascara and survives spin class.
Remember: success lies in prep, product purity, and respecting your skin’s biology. Skip the shortcuts, invest in quality tools (angled brush + barrier cream are MVPs), and always patch-test. Your future brows—and your skin barrier—will thank you.
Now go forth and stain like a savant. And if your brows end up looking like vintage Tamagotchis… well, at least they’re fed, happy, and pixel-perfect.
Like a 2000s flip phone, great brows snap back into place—with zero reception needed.