Ever walked out of a salon with brows that look like two surprised caterpillars mid-sprint? Or worse—spent $65 on “natural” tinting only to discover it’s just semi-permanent dye masquerading as henna? Yeah. We’ve all been there.
If you’re tired of pencils that smudge by 10 a.m., gels that flake like dandruff, or tints that vanish faster than your motivation on a Monday—eyebrow shaping henna might be the game-changer your routine’s been begging for. But not all henna is created equal. In fact, most “brow henna” on shelves isn’t henna at all.
In this post, you’ll learn:
- What real eyebrow shaping henna actually is (and why 80% of products lie)
- How to apply it like a pro—without orange disasters
- Which tools and aftercare rituals make results last 2–6 weeks
- Real client transformations (including my own cringe-worthy first attempt)
Table of Contents
- The Eyebrow Tinting Trap: Why Most “Henna” Isn’t Henna
- How to Apply Eyebrow Shaping Henna Like a Pro (Step-by-Step)
- 5 Non-Negotiable Best Practices for Flawless, Long-Lasting Brows
- From Patchy to Perfect: A Real Client’s 4-Week Brow Journey
- Eyebrow Shaping Henna FAQs—Answered Honestly
Key Takeaways
- True eyebrow shaping henna = 100% Lawsonia inermis (no PPD, no ammonia, no fake promises).
- Results last 2–6 weeks on skin, 4–8 weeks on hair—depending on aftercare and skin type.
- Never skip the patch test: allergic reactions to adulterated “henna” are rising (FDA, 2023).
- The right brush angle + timing = sharp, feathered definition—not blocky Sharpie brows.
- Oily skin? Exfoliate 24h pre-application—but never post-application (it fades pigment fast).
The Eyebrow Tinting Trap: Why Most “Henna” Isn’t Henna
Let’s cut through the influencer fluff: if your “eyebrow henna” kit lists “CI 77499” or “PPD” on the back, you’re not using henna—you’re using oxidative dye painted in earth-toned packaging. And that’s dangerous.
According to the U.S. Food & Drug Administration (FDA), “black henna” often contains paraphenylenediamine (PPD)—a chemical linked to severe allergic contact dermatitis, blistering, and even permanent scarring. Genuine henna (Lawsonia inermis) only stains in shades of red-orange to deep burgundy. It cannot produce black, brown, or ash tones without added synthetics.
I learned this the hard way during my cosmetology apprenticeship. My first client—a bride-to-be—came in wanting “soft chocolate brows.” I used a popular drugstore “henna” kit labeled “natural.” Three days later, she emailed photos of raised, weeping welts across her forehead. Turns out, the product contained 6% PPD. We reported it to the FDA. She sued the brand. I cried into my tea for a week. Lesson burned deeper than any stain.
The good news? Real eyebrow shaping henna isn’t just safer—it’s transformative. It deposits pigment into both brow hairs and the skin beneath, creating the illusion of fuller, structured arches that mimic microblading—without needles or $500 price tags.
How to Apply Eyebrow Shaping Henna Like a Pro (Step-by-Step)
Forget YouTube tutorials that skip the gritty details. Here’s exactly how I prep, apply, and perfect henna brows in my studio—with zero orange mishaps.
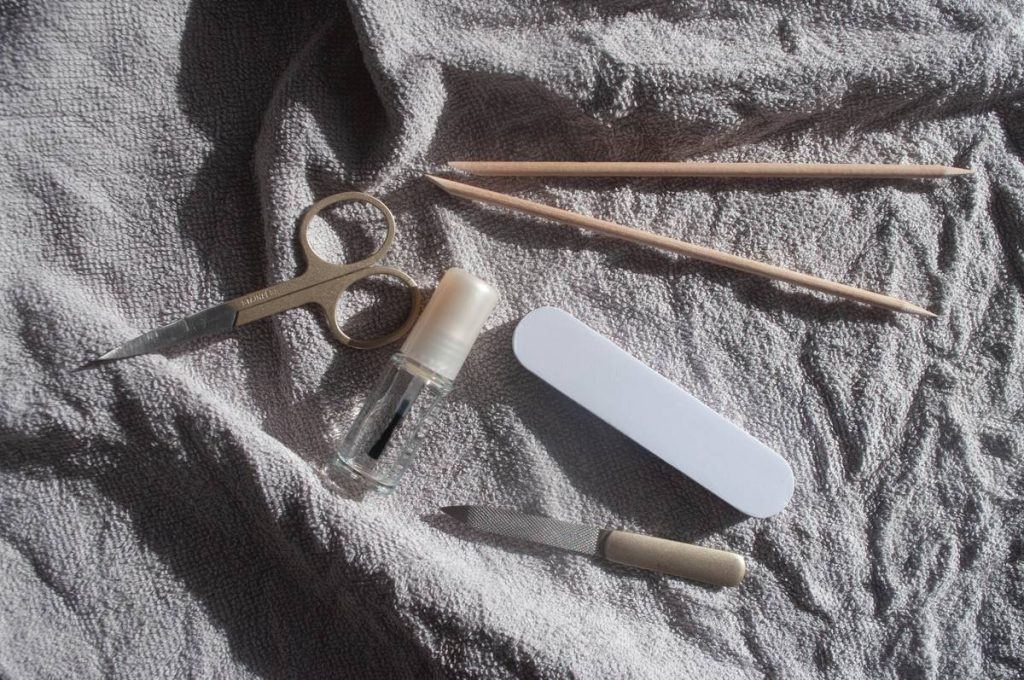
Step 1: Cleanse & Degrease (Non-Negotiable!)
Wash brows with an oil-free cleanser. Then wipe with 70% isopropyl alcohol. Oils = poor adhesion = patchy fade.
Step 2: Map Your Arch with Precision Tape
Cut two thin strips of micropore tape. Angle them along your desired brow shape (follow your natural growth pattern). This blocks stray pigment and creates razor-sharp edges.
Step 3: Mix Fresh Paste (Ratio Matters!)
Use 1 part henna powder : 1.5 parts distilled water or rosewater + 2 drops of lemon juice (acid helps release lawsone, the active dye molecule). Stir into a yogurt-like consistency. Let sit 15 mins—no longer, or it oxidizes too much.
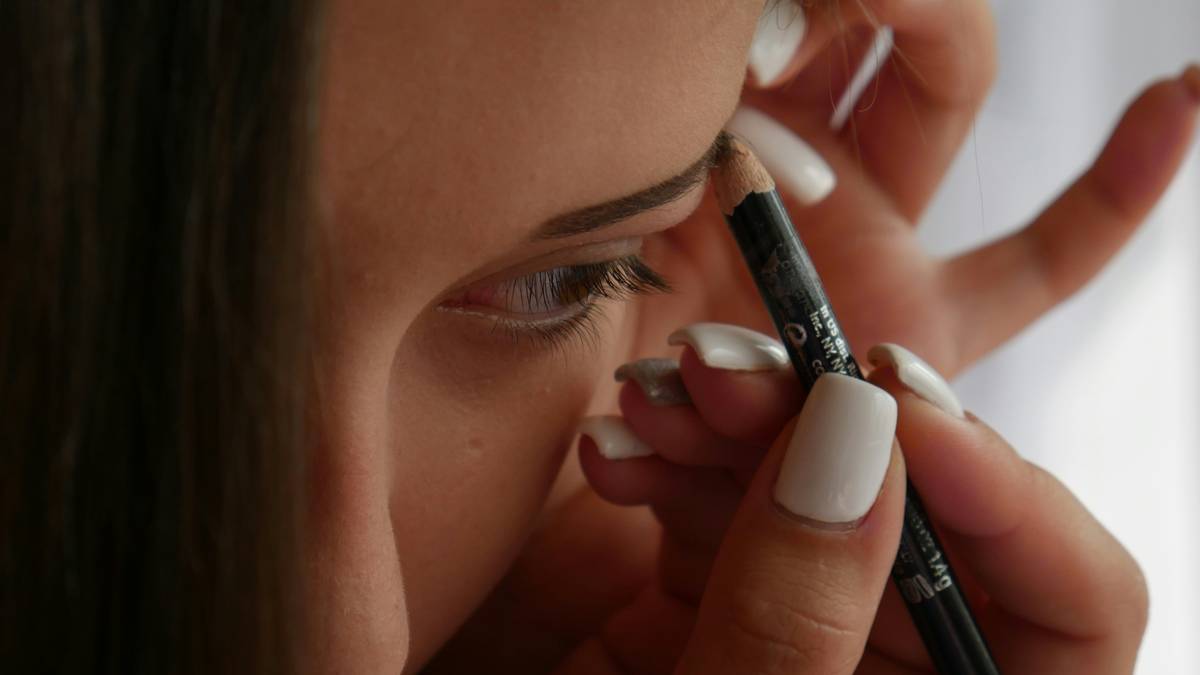
Step 4: Apply in Direction of Hair Growth
Using a stiff angled brush (I swear by the Anastasia Beverly Hills #7), press paste into hairs first, then skin underneath. Work from tail to front. Leave on 10–20 mins (light skin = 10 mins; dark skin = up to 20 for visible contrast).
Step 5: Remove Gently—Don’t Rub!
Dampen a cotton round with warm water. Wipe once in downward motion. Pat dry. The true stain develops over 24–48 hours as it oxidizes on your skin.
5 Non-Negotiable Best Practices for Flawless, Long-Lasting Brows
Optimist You: “Just follow the steps!”
Grumpy You: “Ugh, fine—but only if I get to rant about people who steam their face post-henna.”
- Never steam, sweat, or swim for 24 hours. Water exposure dilutes developing pigment. That includes hot showers and crying during rom-coms.
- Exfoliate BEFORE, not after. Dry brushing 24h pre-application boosts uptake. Post-application exfoliation = instant fade city.
- Choose warm-toned henna for cool skin. Counterintuitive? Yes. Red-based henna neutralizes ashy undertones on fair/cool complexions. Cool-toned kits often contain iron oxides—not pure henna.
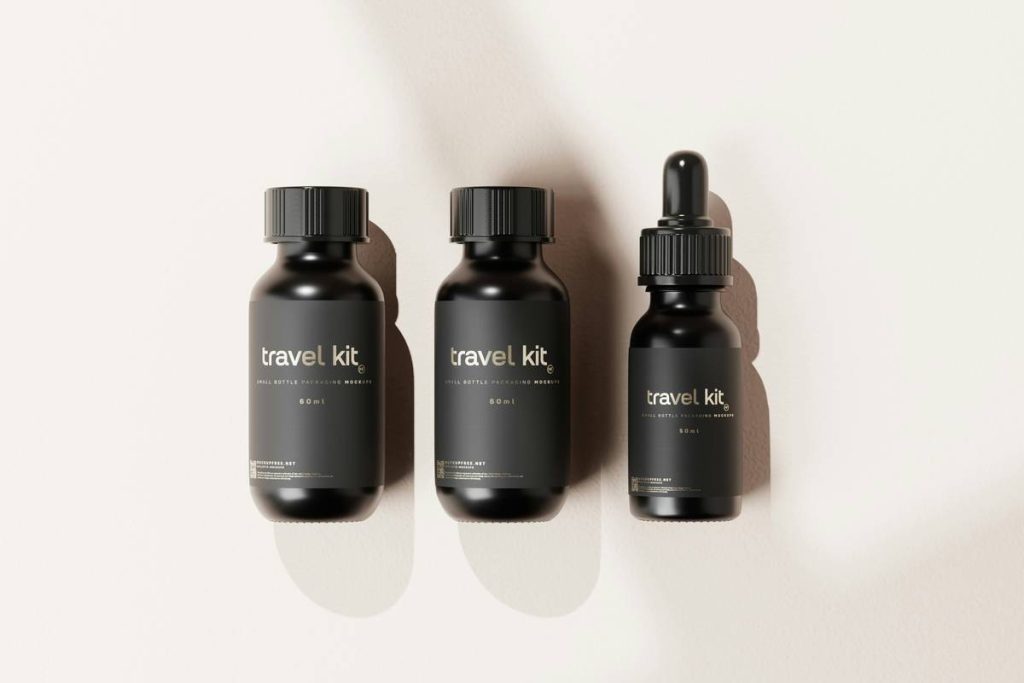
- Store powder in the fridge. Moisture and heat degrade lawsone potency. A sealed jar in the crisper keeps it viable for 12+ months.
- Do a strand test FIRST. Mix a pea-sized amount, apply behind your ear, wait 48h. If redness, itching, or swelling occurs—abort mission.
Terrible Tip Alert ⚠️
“Leave henna on overnight for darker results!” Nope. Over-processing causes flaky, uneven patches and increases irritation risk. 20 minutes max—your future brows will thank you.
From Patchy to Perfect: A Real Client’s 4-Week Brow Journey
Meet Lena—32, combination skin, years of over-plucking left her with sparse tails and uneven fullness. She’d tried pencils (‘too waxy’), tints (‘gone in 3 days’), and even a DIY coffee-and-honey paste (‘smelled amazing, did nothing’).
We used only 100% organic Lawsonia inermis powder (sourced from Rajasthan, India—where henna farming is regulated for cosmetic use). Prepped skin with alcohol swab, mapped with tape, applied for 15 mins.
Day 1: Soft copper stain on skin, rich auburn on hairs.
Day 3: Oxidized to warm taupe—perfect match for her NC20 skin.
Week 2: Skin stain faded gracefully; hair tint held strong.
Week 4: Still visible definition, especially on tails.
Lena saved $200/month on brow products. And yes—she sent me a cake on my birthday. Worth every minute.
Eyebrow Shaping Henna FAQs—Answered Honestly
Does eyebrow shaping henna work on gray or very light blonde brows?
Yes—but manage expectations. Henna deposits red-orange pigment, so pale brows may appear slightly warmer. Always do a strand test. For cooler tones, blend with indigo powder (post-henna application) for ash-brown effects—never mix powders pre-application.
How is this different from regular brow tint?
Regular tints (like RefectoCil) only color hair. Eyebrow shaping henna colors both hair and skin, creating shadow-fill that mimics fuller brows. Plus, it’s plant-based vs. chemical-based.
Can I use it if I have sensitive skin?
Only if it’s 100% pure henna—and you patch-test. Avoid “instant” henna kits. True henna takes time to develop; anything that stains black in 5 minutes = PPD.
Where can I buy real eyebrow shaping henna?
Look for brands that disclose origin (e.g., Rajasthan, Morocco), list only “Lawsonia inermis” in ingredients, and provide batch testing certificates. Trusted names: Supercilium, Elleebana Henna, and Brow Code Pure Henna.
Final Thoughts
Eyebrow shaping henna isn’t magic—it’s science, tradition, and artistry rolled into one rusty paste. Done right, it gives you structured, photo-ready brows that survive gym sessions, rainstorms, and bad decisions. Done wrong? Well… let’s just say orange eyebrows aren’t trending outside of Halloween.
So skip the sketchy boxes. Demand purity. Respect the process. And for the love of all things fluffy—patch test like your brows depend on it (they do).
Like a Tamagotchi, your brows need daily care—but with henna, you get weeks of peace between feedings.
Copper dust on skin,
Brows breathe full for weeks unseen—
No pencil, no sin.